Showing posts with label dessert. Show all posts

Sunday, December 21, 2014

Cream Cheese Sugar Cookies

sugar cookies christmas
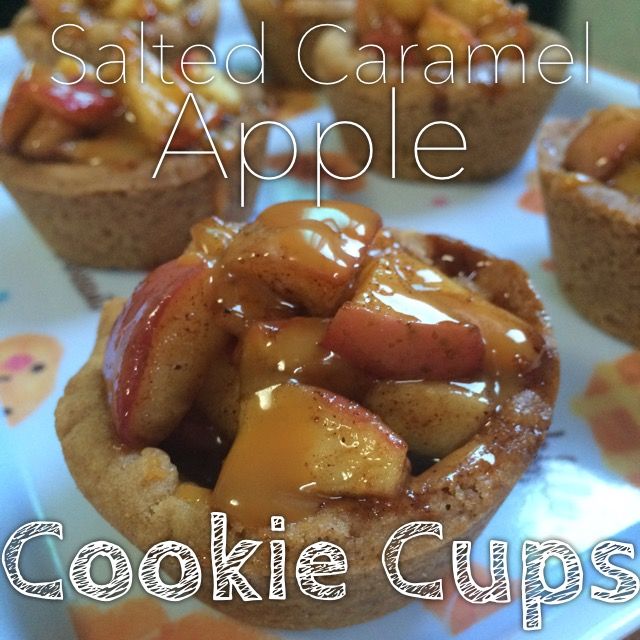
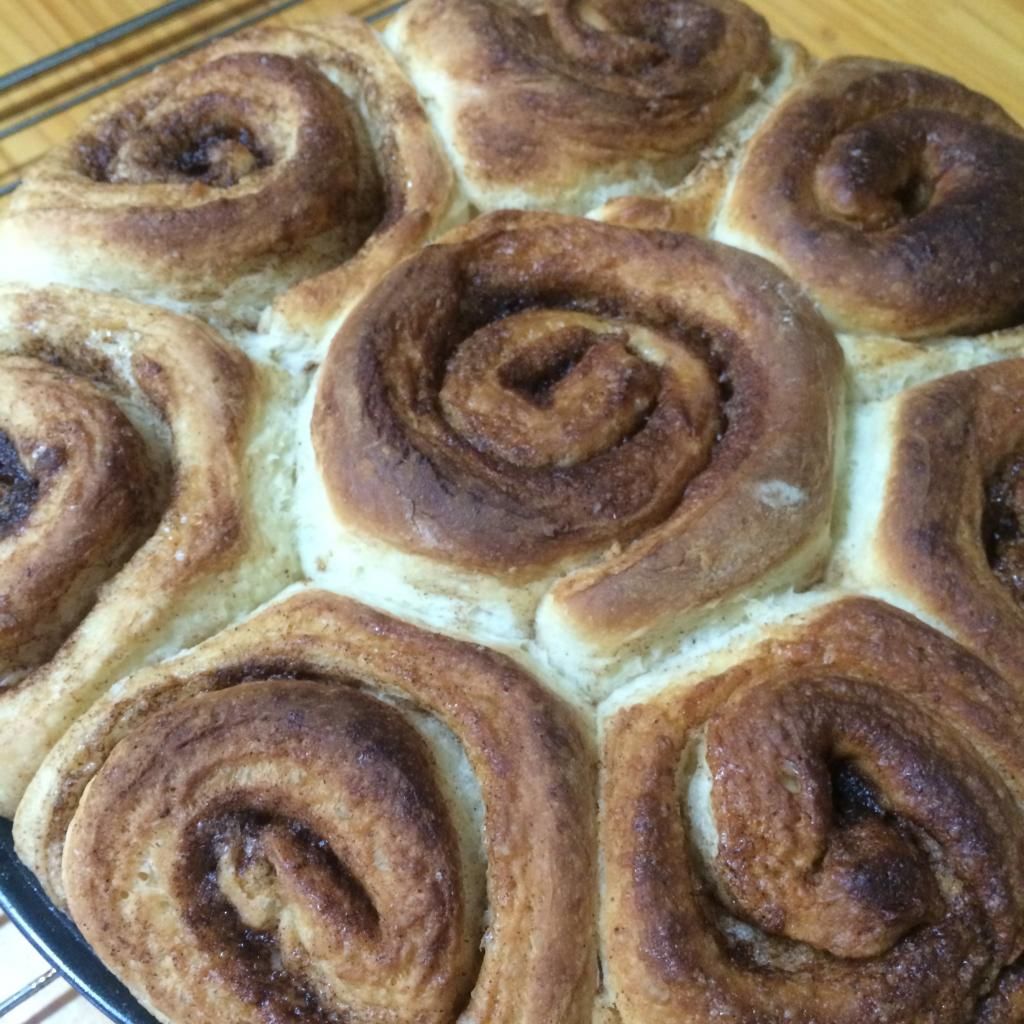
One last Christmas post before the big day! These cookies are a favourite of mine around this time of year. My mom always made some and we would spend an afternoon decorating them together. Although, I’m sure I complained quite a bit. These cookies are quite time consuming because of the decorating, but they are totally worth it in the end. Merry Christmas Everyone!

sugar cookies cream cheese

cream cheese cookies


Cream Cheese Sugar Cookies

Cookies
200 g cream cheese softened
1 cup sugar
1 cup butter softened
2 1/2 cups flour
1 tsp vanilla extract
1/4 tsp salt
1 egg yolk (you can save the white and make a DIY face mask)

Blend together cream cheese, sugar, butter, egg yolk, vanilla extract, and salt with an electric mixer.  Stir in flour with a wooden spoon, until well blended. Refrigerate dough for two hours.

Preheat oven to 375 ̊F or 190 ̊C. Working with about a third of the dough at a time, roll it out on a lightly floured surface to about 3-5 mm thick. Use cookie cutters to cut out shapes and place your cookies on an ungreased cookie sheet. Place in the oven for about 6-7 minutes. Make sure to keep a close eye. These cookies should be taken out as soon as any browning begins to happen. Let the cookies cool on a wire rack. Make sure that they are cooled completely before icing them. I waited until the next day. These cookies can also be kept in the freezer and take out about 30 minutes before eating.

Glaze
powdered sugar
food colouring
water or milk

For every one cup of powdered sugar you use add about a tablespoon of milk or water. You want the glaze to be thick enough that it won’t drip off the cookies, but thin enough to squeeze out of a bag. Add the liquid to the powdered sugar and stir until combined with a rubber spatula. Add in your desired amount of food coloring last and mix again. Spoon the icing into a ziplock bag and cut a small hole in tip. Instant piping bag!

Makes a ton of cookies!

christmas sugar cookies

Sunday, November 2, 2014

Salted Caramel Apple Cookie Cups

salted caramel apple cookie
Here is another delicious apple recipe. This time it’s a sweet and savory treat for those colder afternoons. I have been looking for excuses to use my favorite treat from HomePlus, salted caramel sauce, so I combined them with my other favorite thing, homemade cookies. Check out the recipe below!

salted caramel sauce

cookie cups

cookie cups

cookie cups

caramel apple cups

salted caramel apple cookie cups

Salted Caramel Apple Cookie Cups (Adapted from Life, Love& Sugar)

Cookie Cups
1/2 cup brown sugar
1/2 cup sugar
3/4 cup butter
1 egg
1 tsp vanilla extract
2 cups flour
2 tsp cornstarch
1 tsp baking soda
1 tsp cinnamon

Topping
1/2 jar of salted caramel sauce
2 large apples
4 tbsp brown sugar
2 tbsp butter
pinch of nutmeg

Directions
Preheat oven to 350 degrees. Brush some canola oil over the muffin tin to grease the pan or spray with cooking spray if you have it. Cream together butter and sugars with an electric mixer for 3-5 minutes, until light and fluffy. Add the egg and vanilla and beat until combined. Add the dry ingredients and mix with a wooden spoon. Make balls out of about 2 tbsp of dough and press into the bottom and up the sides of each muffin cup. Bake for about 10 minutes. After you remove them from the oven, use a spoon to push down the middles of the cookies reforming the cup shape. Place back into the oven for 3-5 minutes. Remove and let cool on a wire rack for 5 minutes. Once the cookie cups have cooled spread about a tbsp of salted caramel sauce into each cookie cup. Set aside. Cut apples into small chunks leaving skin on. Place in a pan with sugar and nutmeg and toss to coat. Add butter and cook on medium for 10 minutes. Top cookies cups with apple and drizzle with more of the salted caramel sauce.
Makes 15 cookies cups.

caramel apple cookie cups

Saturday, October 25, 2014

Apple Crisp for Two

apple crisp for two
Last weekend, we traveled with a few friends outside of the city to Yecheon and Mungyeong Saejae Provincial Park. We got to experience the Yecheon Archery festival, which was a total blast! I was able to harness my inner Katiss Everdeen and tried out two different forms of archery. We also visited an apple orchard in Mungyeong, and got to pick some of the biggest apples I have ever seen and then we enjoyed a lovely Hanwoo beef barbeque dinner. Overall, the trip had its ups and downs, but it was lovely to get out of the city for the day.
apples archery korea


Since the Simmering Seoulmate and I got two huge boxes of apples, I thought I’d share a couple apple recipes for you. This first recipe is a favourite of ours and very easy to make. I am not a pie lover, so that it why I love apple crisp so much. It has amazing flavours and a crispy topping that is irresistible. I hope you try it out this fall!

apple crisp ice cream

apple crisp ice cream

apple crisp ingredients


apple crisp

apple crisp for two

Ingredients
1/2 of an enormous apple or one regular sized apple peeled and cut into small slices
6 tbsp oats
4 tbsp brown sugar
3 tbsp melted butter
1/2 tsp cinnamon
1/4 tsp nutmeg

Directions
Preheat oven to 350 degrees F or 177 degrees C. Place apples into two small ungreased ramekin dishes. (If you don’t have ramekins you can use a small loaf pan.) In a medium bowl, combine melted butter, oats, brown sugar, and spices. Spoon the mixture on top of the apples. Cover each ramekin with foil and place them on a cookie sheet. Put into the oven for 30 minutes. After 30 minutes, remove foil and place back in the oven for 15 more minutes. Let cool for 5 minutes and serve warm with a scoop of vanilla ice cream or whipped cream.
Makes two sweet treats.

Sunday, August 31, 2014

Cinnamon Rolls

cinnamon rolls
This weekend has been quite relaxing. Saturday afternoon was spent shopping and walking around on the cobblestone streets and enjoying the amazing weather around Isu station with the Simmering Seoulmate. The evening was spent having some pizza at Bonny’s Pub and enjoying a few drinks with friends. We came home quite early, which was nice for a change, as most nights that we go out, I am left spending Sunday exhausted. Since I was well rested and feeling great, I thought today would be a good day to try out some cinnamon rolls. I have wanted to make cinnamon rolls for quite some time now, but have been discouraged about the time and effort that goes into making them. I came across this recipe from Sally’s Baking Addiction, which seemed like it was easy enough and looked yummy. I hope you try out this recipe on a lazy afternoon and I promise they are well worth the wait!

cinnamon roll dough

cinnamon rolls

cinnamon rolls

cinnamon rolls

Cinnamon Rolls

Ingredients
cinnamon bunsRolls:
2 and 3/4 cups flour
3 tbsp sugar
1 tsp salt
1 packet instant yeast
1/2 cup water
1/4 milk
2 and 1/2 tbsp unsalted butter 1 large egg


Filling:
3 tbsp unsalted room temperature butter
1 tbsp ground cinnamon
1/4 cup sugar

Glaze:
1 cup powdered sugar
1 tsp vanilla extract
2 tbsp milk

Directions


1. Rolls: In a large bowl, combine flour, sugar, salt, and yeast and stir together well.

2. Pour water, milk, and butter into a microwave safe dish and heat for about a minute and a half stopping to stir every 30 seconds. Pour the mixture into the dry ingredients and stir to combine. Add the egg and stir until the dough form into a ball and come away from the sides of the bowl.

3. Knead the dough on a lightly floured surface for 3 minutes. Then, set dough into a lightly oiled bowl and let rest for 10 minutes. Heat oven to 140ºF or 60 ºC, then turn off once heated.

4. Filling: After 10 minutes, roll the dough out onto a cookie sheet. Spread the butter across the dough. Mix together sugar in cinnamon and sprinkle over the dough.

5. Cut the dough into 8 even pieces. Roll each piece up and place in a lightly greased pie or cake pan.

6. In your warm oven (turned off), place the rolls inside and let rise for 90 minutes. After the rolls have risen to about double their size, cook for 25 minutes at 375ºF or 190 ºC. After about 10-15 minutes cover with foil so the tops don’t burn and finish cooking.

7. Glaze: While the rolls are cooking prepare the glaze. Combine powdered sugar, vanilla extract, and milk and stir until there are no lumps. Once rolls are finished, drizzle over rolls and serve warm.
Rolls can be kept in an airtight container in the refrigerator for about 5 days. Enjoy!


cinnamon rolls
*Recipe adapted from Sally’s BakingAddiction*

Saturday, June 14, 2014

Pancakes

breakfast pancakes chocolate
I am the luckiest girl in the world. My boyfriend cooks me breakfast every day. Sometimes its French toast or fried potatoes and other days it’s a slice of toast with peanut butter or a bagel with cream cheese. It doesn't matter what it is, it’s that it is served to me as I primp myself for work every day. What a guy. So, once and awhile I like to treat him to one of his favorites. Pancakes. Store bought mixes are okay, but I really don’t care for the ones they sell in Korea. Homemade pancakes are easy and delicious, so that’s what I prefer to do. This past weekend, I whipped up a batch. They end up fluffy, but still light. For mine, I always include chocolate chips, while my boyfriend prefers his au natural.

Ingredients
1 1/2 cups flour
3/4 tsp salt
3 1/2 tsp baking powder
1 tbsp white sugar
1 1/4 cups milk
1 egg
3 tbsp melted butter
A small handful of chocolate chips, blueberries, or sliced strawberries

Directions
In a large bowl, sift together dry ingredients. Make a well in the center and pour in milk, butter and egg. Mix together with a wooden spoon.
Heat a lightly oiled pan over medium high heat and use a soup ladle to pour batter into the pan. Add chocolate chips, fresh fruit, or leave them plain. When the batter begins to bubble flip the pancakes and cook for another 2 minutes. Serve with butter and classic Canadian maple syrup. Enjoy!


Makes 10 pancakes. 
pancakes breakfast easy


Sunday, June 1, 2014

Chocolate Chip Banana Bread

I had a ton of bananas that were turning black…story of my life. So, I decided to bake delicious chocolate chip banana bread. I have tried several recipes, but finally I have tweaked this simple one from The Food Network and it is perfection! 

There are several times that I enjoy eating banana bread, here are a few. Firstly, I love to eat banana bread warmed up with a bit of butter for a quick breakfast in the morning, on days when I’m running late. AKA every day… I also like to wrap up a slice and eat it as a snack, when hunger strikes after my kindy classes finish at 3pm. Finally, banana bread makes a delightful evening snack with a cup of herbal tea. 

This recipe makes two small loaves. You can keep a loaf in the fridge for about a week or in the freezer for about a month.

Ingredients
2 cups flour
1 tsp baking soda
1 tsp baking powder
1 tsp salt
2 eggs
1 cup sugar
4 very ripe bananas
1 tsp vanilla
1/2 cup coconut oil (can use vegetable oil instead)
1 tsp cinnamon
3/4 cup semi-sweet chocolate chips

Directions
Preheat oven to 350 degrees F. Grease your pans with a bit of cooking spray or butter. I skipped this step, and had mixed results. One pan I used must have been a non-stick one and the loaf fell right out. However, the second loaf stuck to the bottom of my other pan.
In a medium bowl stir flour, baking soda and powder, salt. Next take a large bowl and stir eggs and sugar together with a wooden spoon. Mash bananas in a separate bowl with a fork and add them to the egg and sugar mixture. Add vanilla, coconut oil and cinnamon. Add the flour mixture, a third at a time, until just combined. Fold in chocolate chips. Divide batter into two 9x5 loaf pans. Bake for about 45-50 minutes or until the top has browned nicely. Use a toothpick to check if the middle is cooked through.

Enjoy!