Showing posts with label lunch. Show all posts

Sunday, February 1, 2015

Fish Tacos

fish tacos tilapia mexican
The Simmering Seoulmate and I have been eating a lot of Mexican food lately. We only have one month left in Korea and we are trying to hit up all of our favourite spots. We have been to Coreanos, Gusto Taco, and Vatos over the past couple of weeks.

Vatos was a big favourite of ours about three years ago when we first lived in Seoul, back when it was at its small back ally location. We enjoyed munching on Kimchi Carnitas Fries and sipping on margaritas, while hanging out with friends. Over these past three years, many Mexican fusion restaurants have popped up all over the city and we’ve sort of forgotten about Vatos because we’ve found a few other places we prefer. This past month, we ventured back to Vatos and it has become a new favourite again, so we’re glad we went back.

Fish tacos are something we’ve tried at several of the restaurants, but both of us enjoy the Vatos ones the best. The fish to taco ratio is perfect and the fish is moist with a crunchy batter. We decided to try and make our own fish tacos and they turned out fantastic! Check out the recipe below and enjoy!

tilapia fillets

fish tacos tilapia fillets

tilapia fish tacos

fish tacos


Fish Tacos

Ingredients
8 tortilla shells
cherry tomatoes
purple cabbage
red onion
lettuce
Fish
2 tilapia fillets
1/2 cup flour
3/4 soda water
1/2 tbsp cornstarch
salt to taste
Sauce
1/2 cup sour cream or plain yogurt
1 1/2 tbsp Dijon mustard
1 tbsp lemon juice
1 tbsp dried dill

Directions
For the slaw topping, chop about one cup of red cabbage and place in a medium bowl. In a small bowl, combine the sauce ingredients and stir until well mixed. Spoon two tablespoons of the sauce into the cabbage and mix. (Keep the rest of your sauce for another dinner. It pairs well served over both chicken and fish.) Set slaw aside. Chop and prep the rest of your desired toppings and set aside, as these tacos should be served immediately. For the fish, cut each tilapia fillet into four equal strips. In a large bowl, combine the flour, cornstarch, and salt. Slowly pour the soda water into the dry ingredients and stir gently. Heat a large pan with an inch of canola oil, over medium high heat.  Dip your fish pieces into the batter and fry in pan, until golden brown. Remove from oil and drain on a dish lined with paper towel. Build your tacos and serve immediately!
Makes 8 fish tacos.

Check out my chicken taco recipe here!


Sunday, January 11, 2015

Potato Latkes

potato latkes jewish potato yum
Happy New Year everyone! I hope everyone enjoyed their holidays. I spent my vacation in Phuket, Thailand and had a fantastic time. I’ve decided that I love Thai food and I’m going to attempt to make some of my own at home, using spice packets I picked up at the airport on my way back to Seoul.

I’ve only got a few months left in Korea before I move back to Canada for good and the week that followed Christmas was a whirlwind of craziness. I decided to relax this weekend, so I made something that I’d been craving; Potato latkes. These delightful fried potato pancakes have been a favourite side dish of mine since I was a young girl. I remember my mom making them for dinner and me eating several of them!

We ate them for lunch, but they make a great side dish to any main course. Give them a try or let me know below how you like to make these delicious potato treats!

Potato Latkes
Ingredients
4 medium potatoes peeled 1/2 onion fined diced
1 egg yolk
2 tbsp flour
salt and pepper
vegetable oil

Directions
Heat a skillet over medium high heat and place about a tablespoon of oil in the pan and cook onions until soft and translucent, about 2-3 minutes. Set aside.

Grate the potatoes with a cheese grater into a medium bowl. Place the grated potatoes in a tea towel or cheese cloth and squeeze out as much water as possible. Place them back into the bowl and add in flour, onions, and a pinch of salt and pepper. Add in the egg yolk and stir until all ingredients are combined.


In a large skillet, heat about an inch of vegetable oil over medium heat. Take about two tablespoons of the potato mixture and press flat into the hot skillet.  Cook for about two minutes or until they edges appear brown. Flip and cook for another two minutes. Place on a plate lined with paper towels to drain. Serve with sour cream or apple sauce.

Makes about 12 – 15 medium latkes.

potato latkes

potato latkes

potato latkes


Friday, October 10, 2014

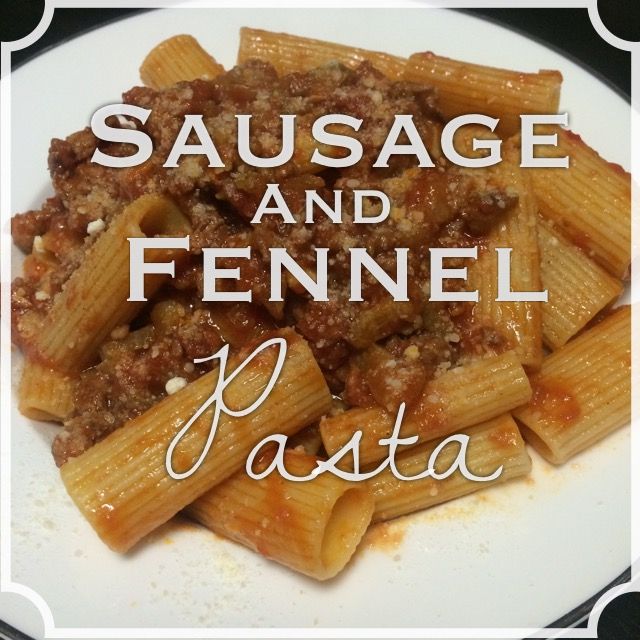
Sausage and Fennel Pasta

sausage fennel pasta

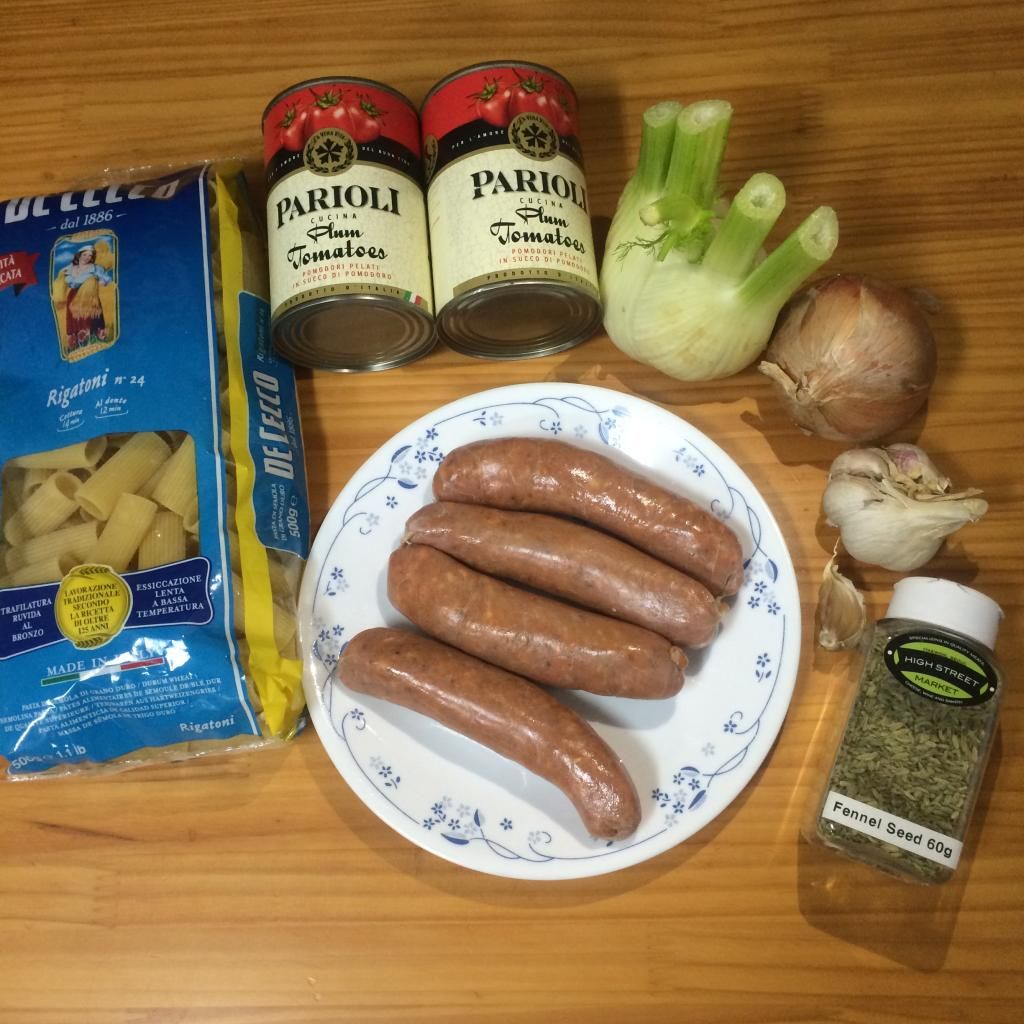
This pasta dish is one of my absolute favourite dishes to eat. The licorice taste of the fennel compliments the spiciness of the sausage well. However, living in Korea comes with sacrifices on readily available ingredients that I can easily get back home in Canada, so I’ve only made this pasta twice in Seoul. I don’t shop at the foreign food marts that often as they are expensive and honestly I usually end up spending too much money on things I don’t need…like $7 bags of Salt and Vinegar chips. Anyway, The Simmering Seoulmate and I happened to be at a store in D-Cube that always sells fennel and grabbed a bulb (along with some other fresh goodies, as mentioned in my previous post). Also, this weekend, we visited one of our favourite places to grab a cocktail, Bulldogs in Iteawon, and stopped in at Highstreet Market on our way home. Highstreet sells a lot of great deli items, including their homemade spicy Italian sausages which are delicious and have an affordable price tag. After picking up the sausages I was extremely excited to come home at make this dish. (Special thanks to the Simmering Seoulmate for doing most of the chopping) You should definitely try making this dish on a crisp fall evening and don’t forget to pour yourself a glass of the red wine too!

sausage and fennel sauce


sausage and fennel pasta


sausage fennel sauce
Sausage and Fennel Pasta

Ingredients
1/2 fennel bulb
1 onion, chopped
3 cloves of garlic minced
1/2 tbsp fennel seeds
2 tbsp olive oil
1/2 cup red wine
Two 400ml cans plum tomatoes
One 500 g package of rigatoni


Directions
Heat oil in a large pan over medium high heat, add chopped onion and sauté for a few minutes. Remove sausage from casings and add to pan. Use a fork to break up the meat and stir continuously, until almost cooked. Add fennel, garlic and fennel seeds. Cook for a few minutes and then add wine. Boil until wine is almost all evaporated and add the cans of tomatoes. Use a potato masher to smash the tomatoes in the pan. Simmer sauce uncovered for about 15-20 minutes. While the sauce is simmering bring a large pot of salted water to a boil and add your pasta. When pasta and sauce are finished cooking, pour sauce over past and top with parmesan cheese. Enjoy!
Makes 4 hearty portions

Sunday, September 28, 2014

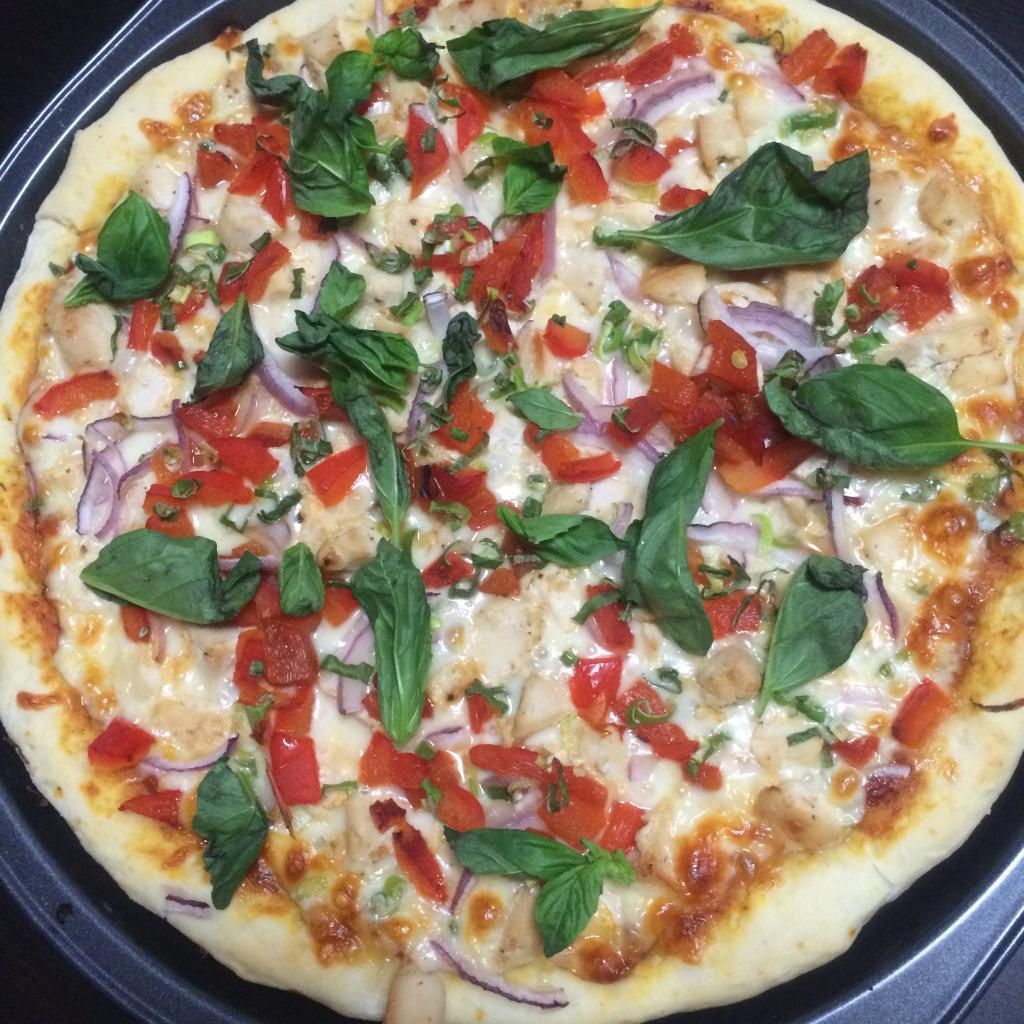
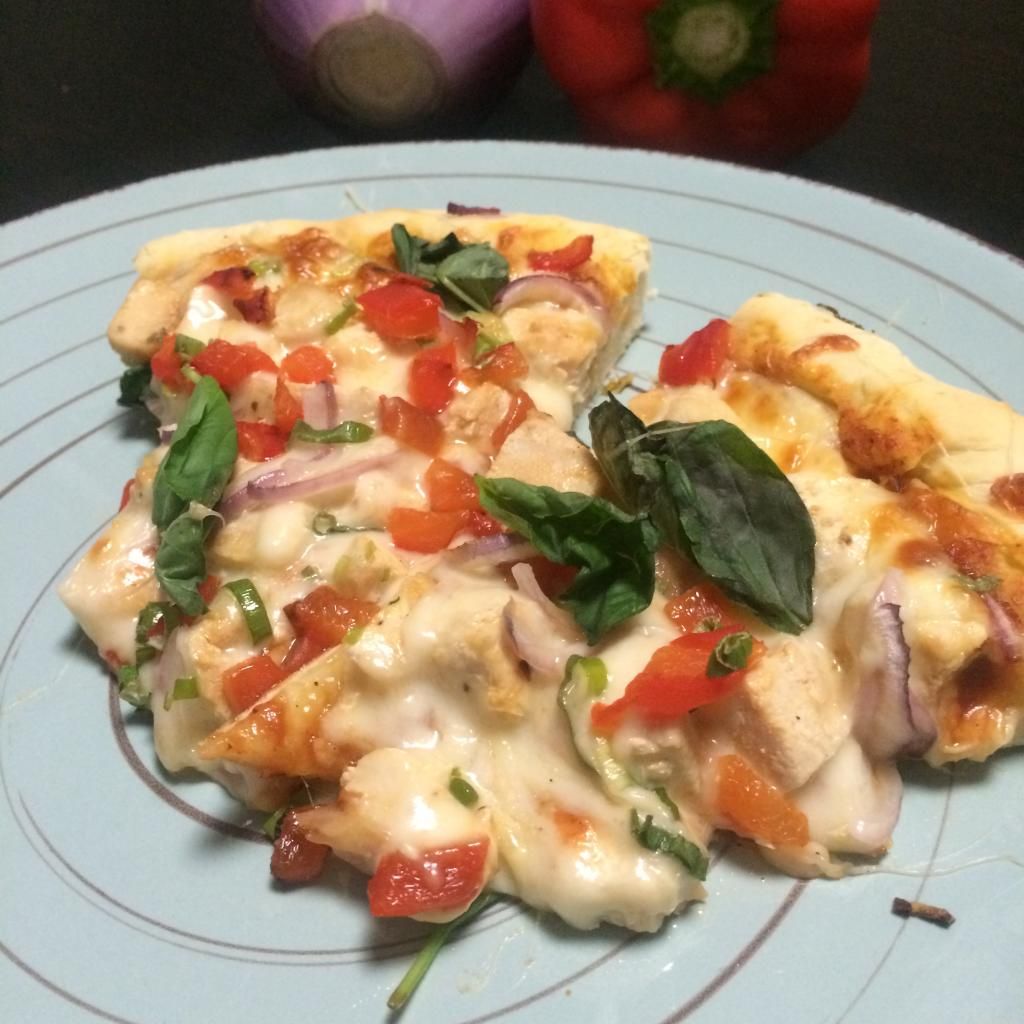
Chicken and Basil Pizza

chicken basil pizza

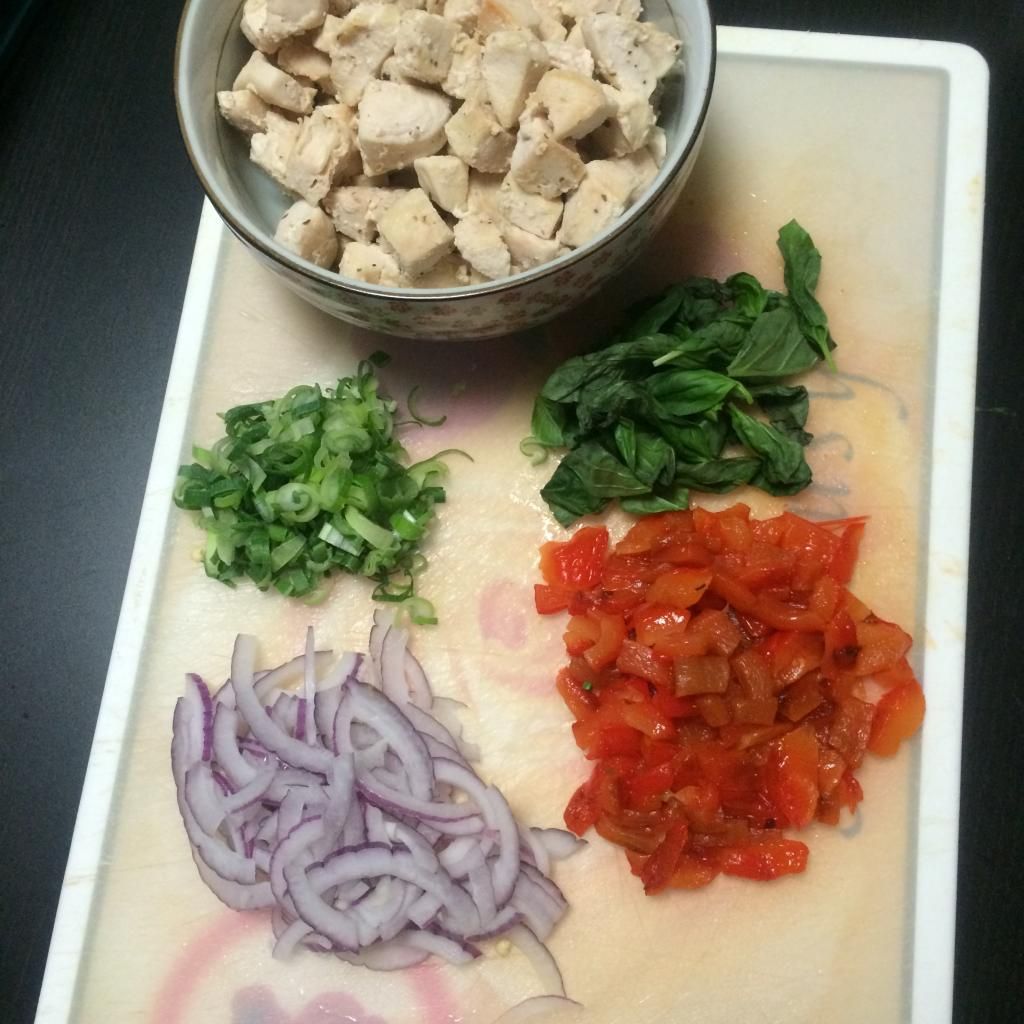
Yesterday, the Simmering Seoulmate and I were craving a nice homemade pizza. We had some red onion, red peppers and fresh basil left in the refrigerator, so we decided to combine them. The basil was a lucky find from a small grocery store at D-Cube in Sindorim. I’ve added it to pasta dishes and really enjoyed it. Fresh herbs are hard to come by in my area, so I’d hate to see them go to waste. We also found fennel! I can’t wait to make one of our favorite sausage and fennel pasta dishes soon.
I hope you are having a great month and enjoying some cooler weather. This pizza is easy and delicious. Enjoy!

red onion green onion

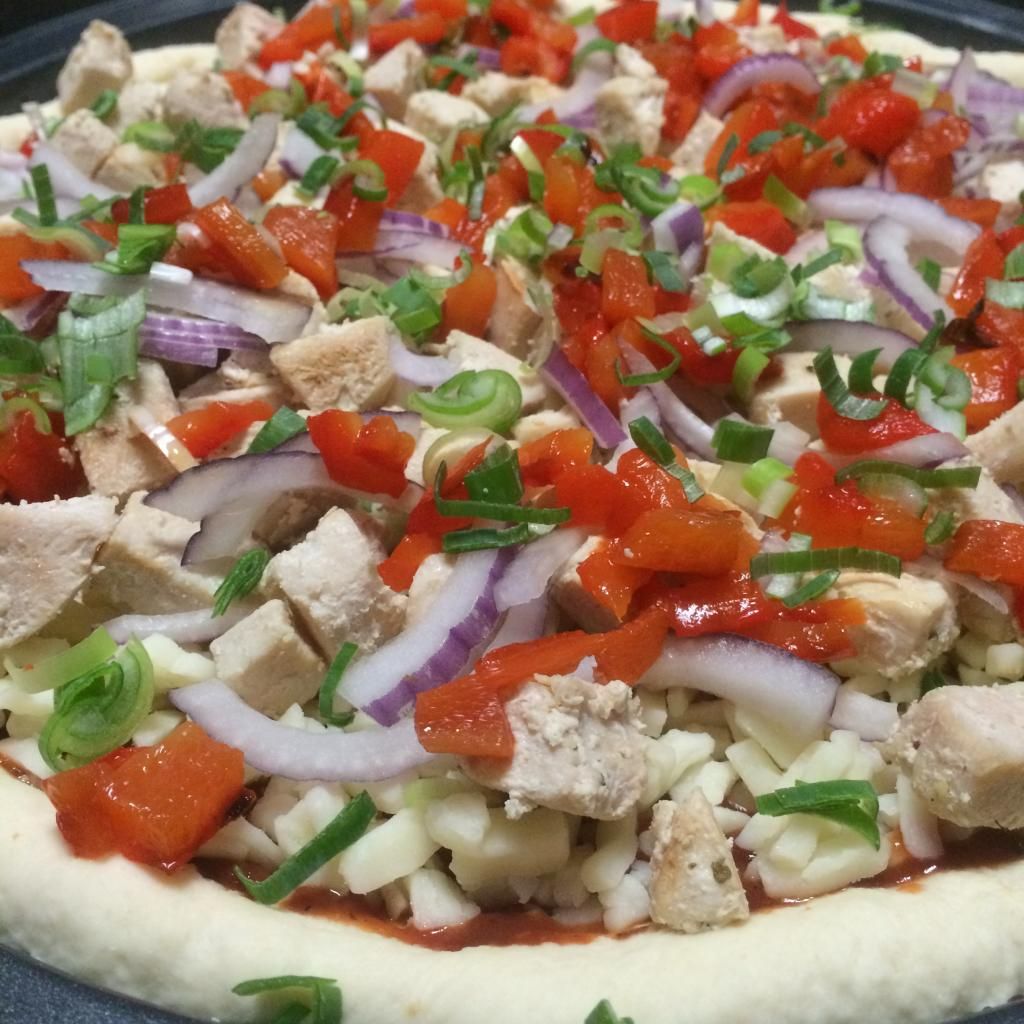
chicken pizza

basil chicken pizza

Ingredients
1 ball of pizza dough (I used this recipe from Bobby Flay which makes enough dough for 2 pizzas)
1/4 cup tomato sauce
2 cups shredded pizza cheese
2 chicken breasts cooked and cut into 1/2 inch cubes
1/2 red onion cut into thin slices
1 roasted red pepper finely chopped
handful of fresh basil

Directions
Preheat oven to 400 ̊F (200 ̊C). Roll out your dough and place it in your desired pan. Spread tomato sauce over the dough. Sprinkle the cheese evenly over the pizza. Add red onion and roasted red pepper. Spoon the chicken over the pizza. Cook pizza for about 25 minutes. Add the fresh basil leaves after the pizza is removed from the oven.
Makes 1 pizza.

Sunday, August 24, 2014

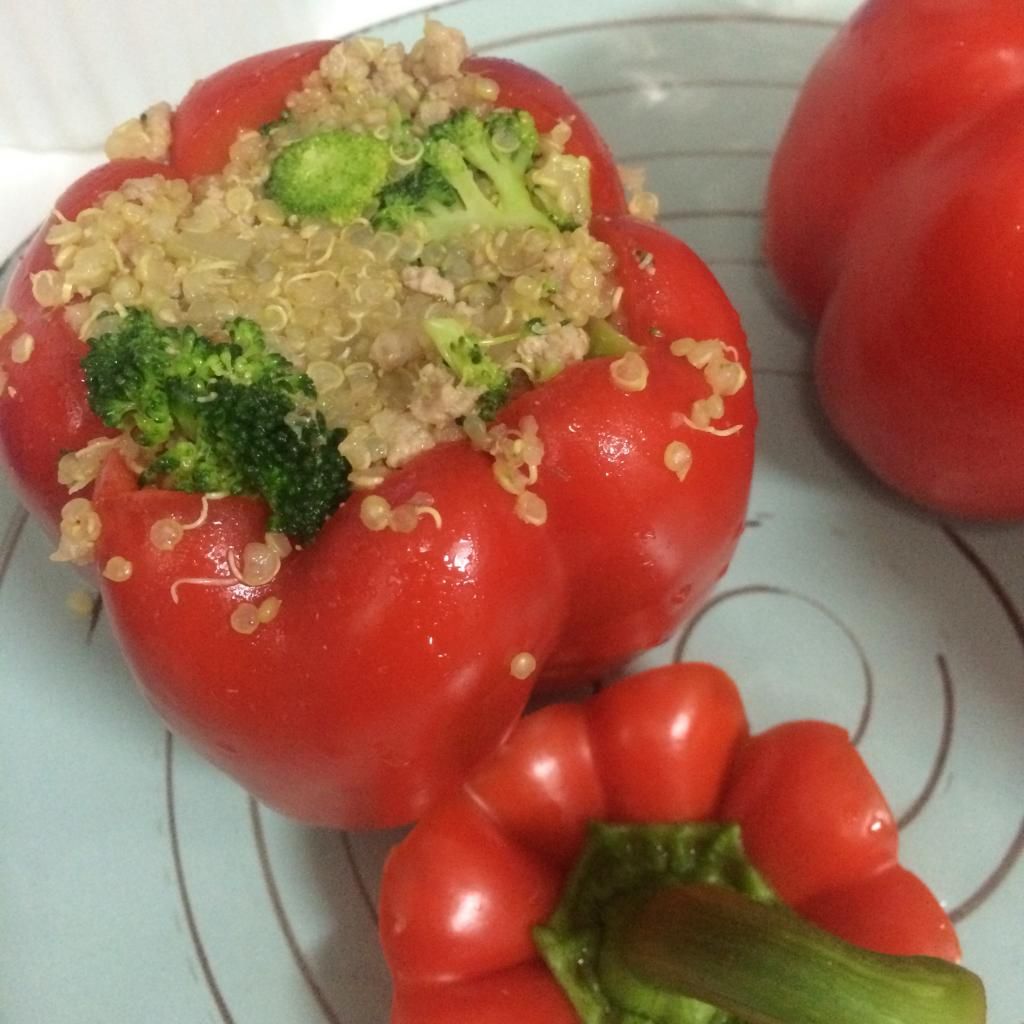
Quinoa Stuffed Peppers

stuffed peppers quinoa

Happy Sunday everyone! Last week, I made stuffed peppers for the second time. They are quickly becoming a weeknight dinner favourite in my house. They are fairly easy to put together and you can add whatever kind of meat and veggies you’d like. The quinoa really fills you up! This is a dish that can be made vegetarian by simply skipping the meat. I hope you give them a try.

red peppers stuffed

stuffed red peppers quinoa

stuffed pepperstuffed red pepper

stuffed red peppers

stuffed red pepper quinoa

Ingredients
1 cup quinoa
2 cups vegetable stock
500g ground pork
1 head of broccoli chopped
½ onion finely diced
4 cloves of garlic
4 large red peppers
Pinch cayenne pepper
1/4 tsp chili powder

Preheat oven to 400  ̊F. Add quinoa to vegetable stock and bring to a boil. Turn heat down and simmer on low for 15 minutes. While the quinoa is cooking, steam broccoli for about 10 minutes and chop into small pieces. Cook onions and garlic with ground pork in a frying pan with a splash of olive oil and some salt and pepper, until the pork is no longer pink. Cut the tops off the peppers and use a spoon to scoop out the seeds. Once your quinoa is finished cooking add the pork mixture and steamed broccoli and stir to combine. Spoon the filling into the peppers until filled all the way.

Topping
3 tbsp panko breadcrumbs
2 tbsp parmesan cheese
1 tbsp butter
½ tsp Italian seasoning

Melt the butter and combine ingredients in a bowl. Sprinkle on top of the stuffed peppers and bake for 30 minutes at 400  ̊F

After stuffing the 4 peppers fully, there was some filling left over, which I ate later that week for lunch, but you could definitely stuff 6 peppers if you wanted too. 


Sunday, August 17, 2014

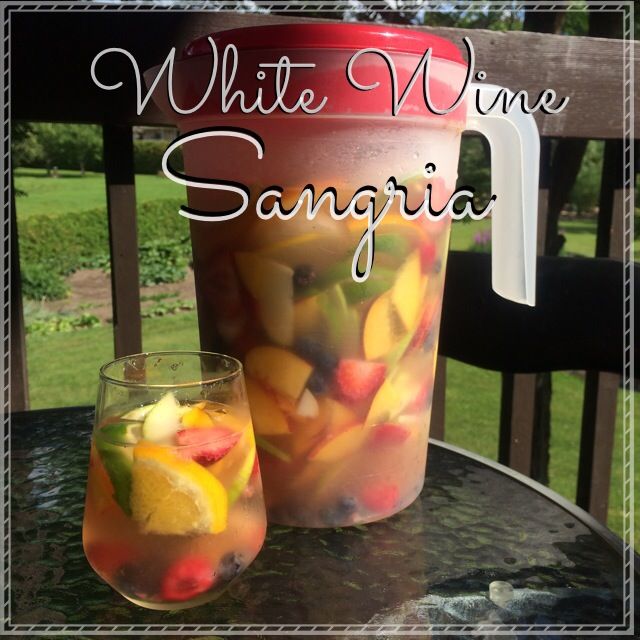
White Wine Sangria - Party Sized!

white wine sangria summer

For summer vacation, I went home to Canada for the week. The weather was cooler than Seoul, but it was a refreshing break from the heat. My mom and dad threw me a lovely barbeque filled with food, friends, and fun. I thought it would be nice to make a classic summer drink to enjoy, so I took advantage of the Ontario fresh fruits and whipped up a HUGE party sized white wine sangria.

veggie tray
Fresh veggies from my parents garden!
mexican dip
A delicious artichoke and cream cheese dip.
sangria white wine


Ingredients
2 bottles of dry white wine 1 bottle of sparkling dry white wine
2-3 cans of soda water
1 lemon
1 lime
1 peach
1 pear
1 granny smith apple
1/2 cup frozen blueberries
1/2 cup raspberries
1/2 cup strawberries


Cut all of your fruit into slices or small chunks and throw into a large pitcher. Pour one bottle of white wine, sparkling wine, and one can of soda water over top. As you drink the sangria add in more soda water and the remaining bottle of white wine. Don’t forget to enjoy the delicious liquor soaked fruit!

This recipe made enough sangria for about 8 people to have 3 to 4 glasses of it and there were still leftovers!

Sunday, July 20, 2014

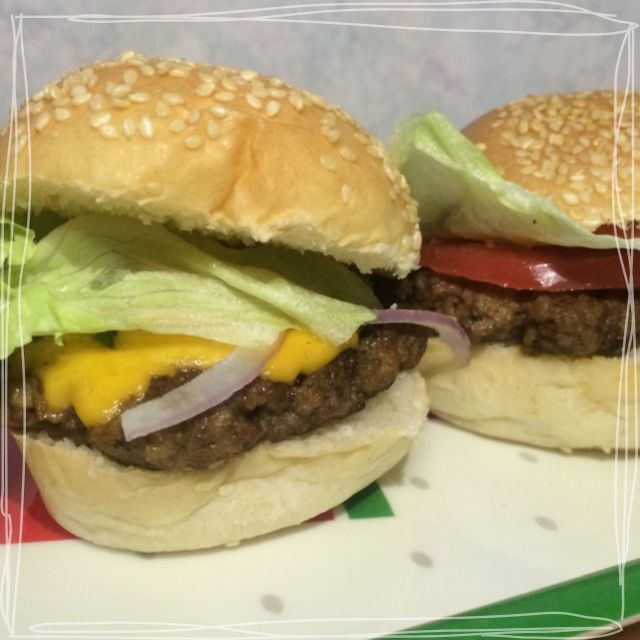
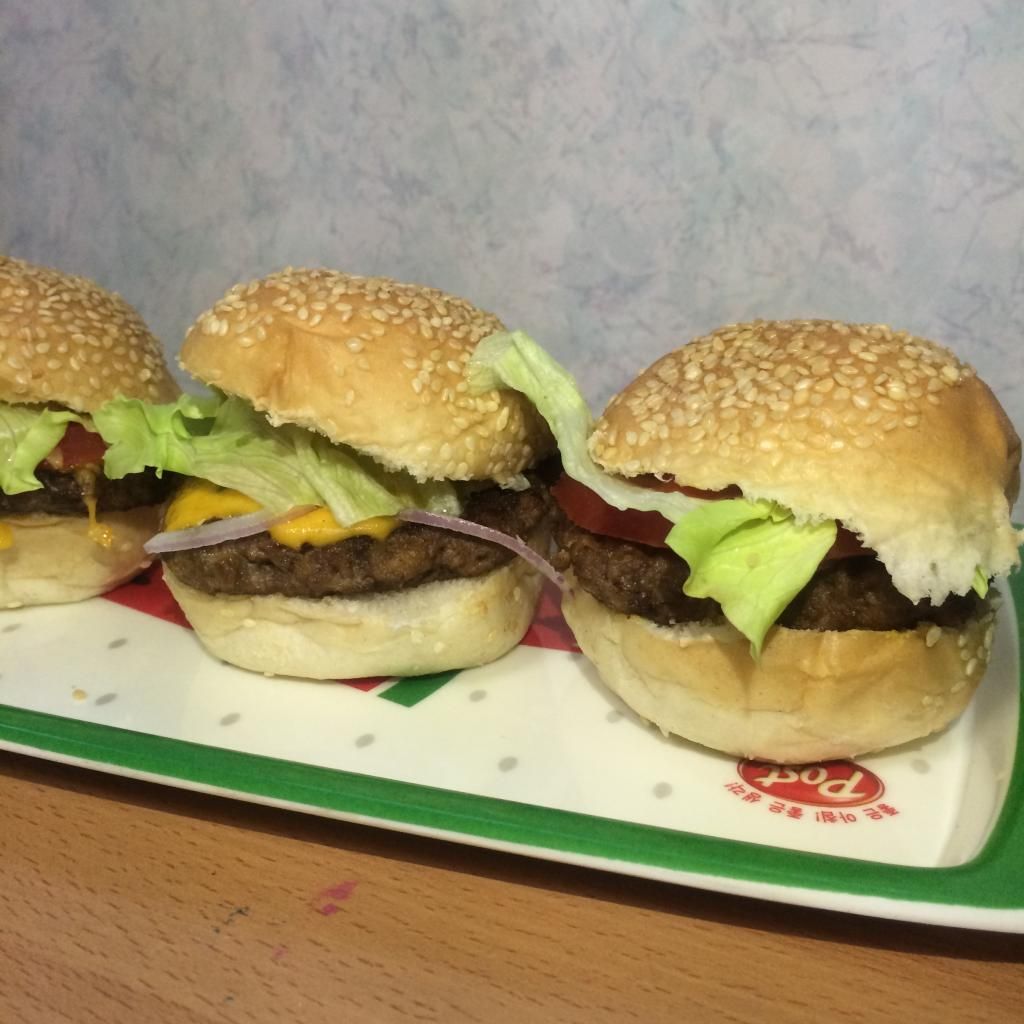
Mini Beef Sliders

sliders burgers beef mini cheese

Feeling Blue...
Most days living abroad is great, filled with new places, new food, and new people. I have lived here for almost three full years now. I have seen places, tried food and seen many people come and go. Lately, despite all the loveliness that my experience in Korea has given me, more often than not, living abroad has been tough for me. I think I'm ready to move on from Korea and go back to the amazing support system of friends and family I have at home. However, since I'm still here until March, cooking up yummy favourites from home and writing this blog have helped me feel a tad bit better. 
With that, I'd like to share a delicious recipe for some yummy beef sliders that the Simmering Seoulmate whipped up last week. 


beef patties sliders
After you mix all of the ingredients together form them into uniformly shaped and sized mini patties.


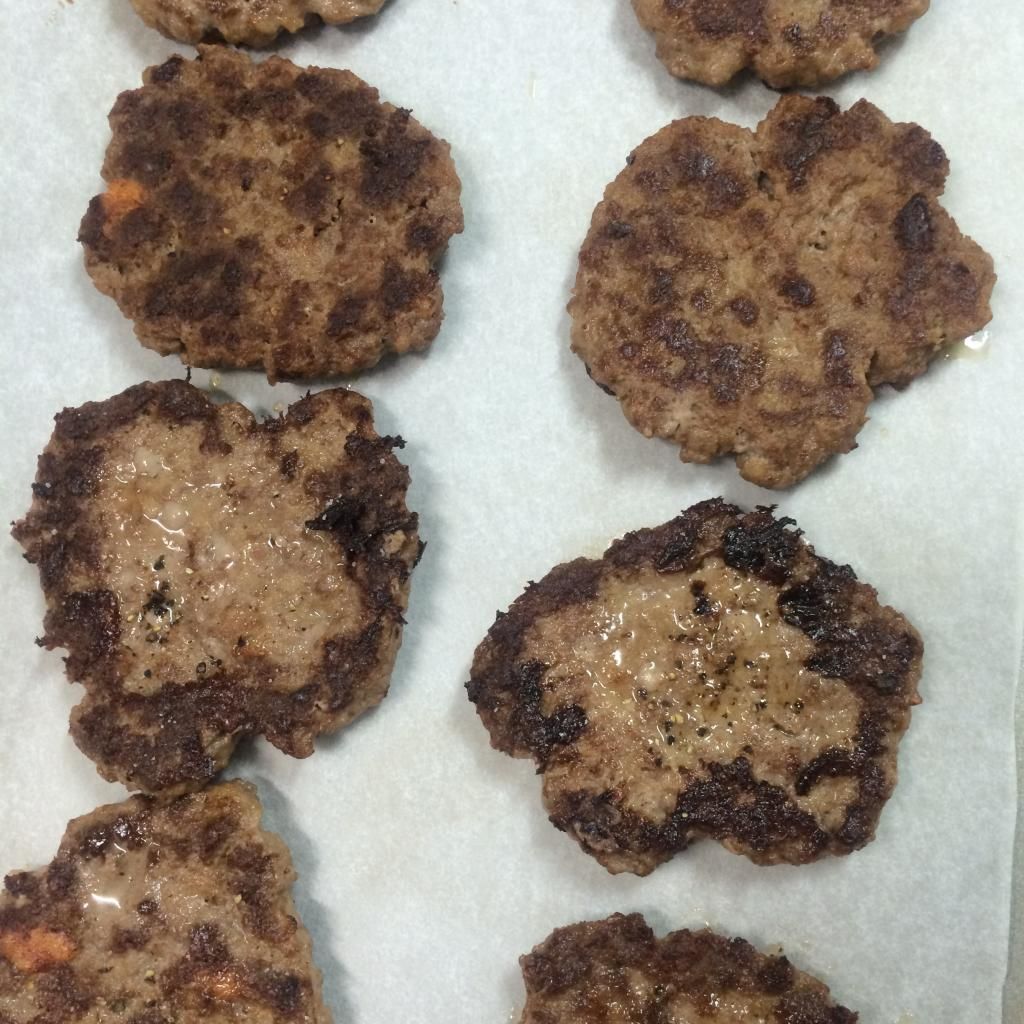
beef sliders patties burgers
What they look like all crisped up! Yum!


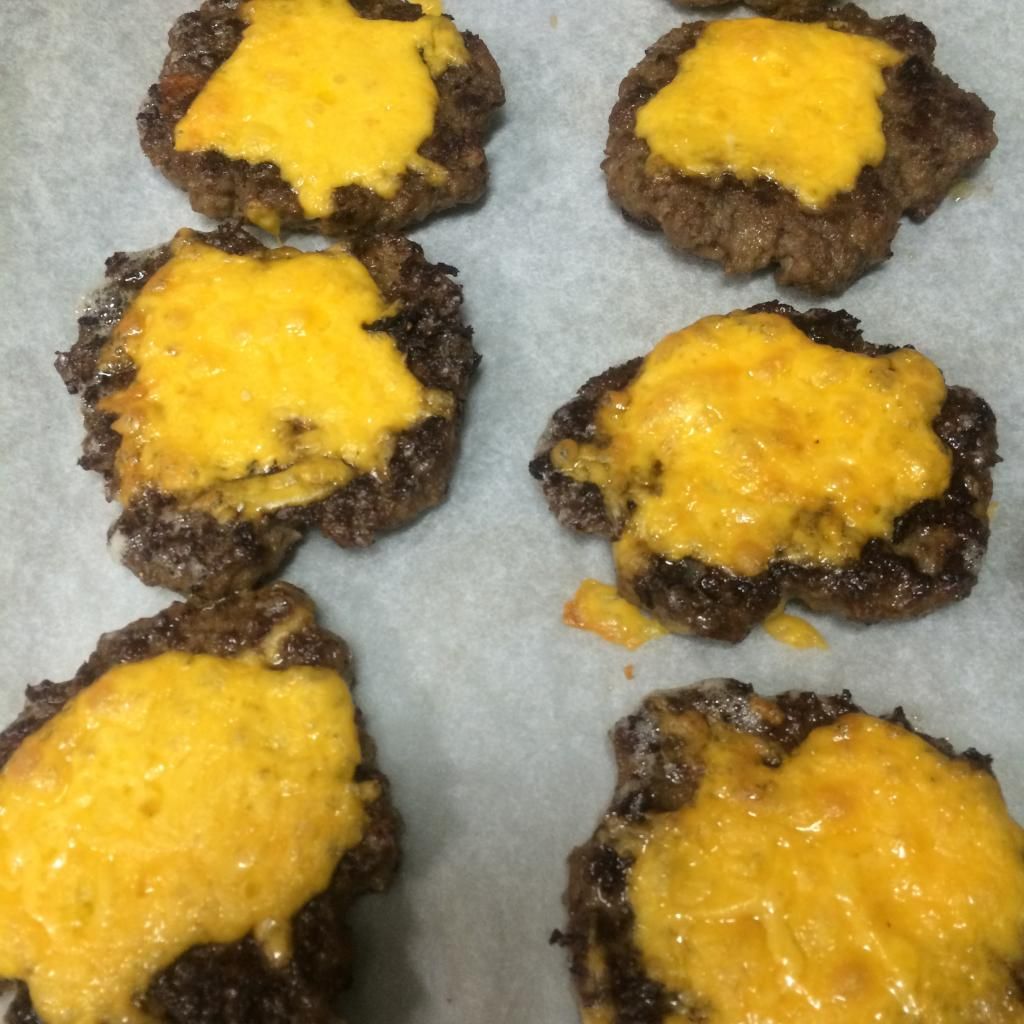
cheeseburger sliders cheese burger
Delightful cheese!


sliders beef burgers
Ready to eat!


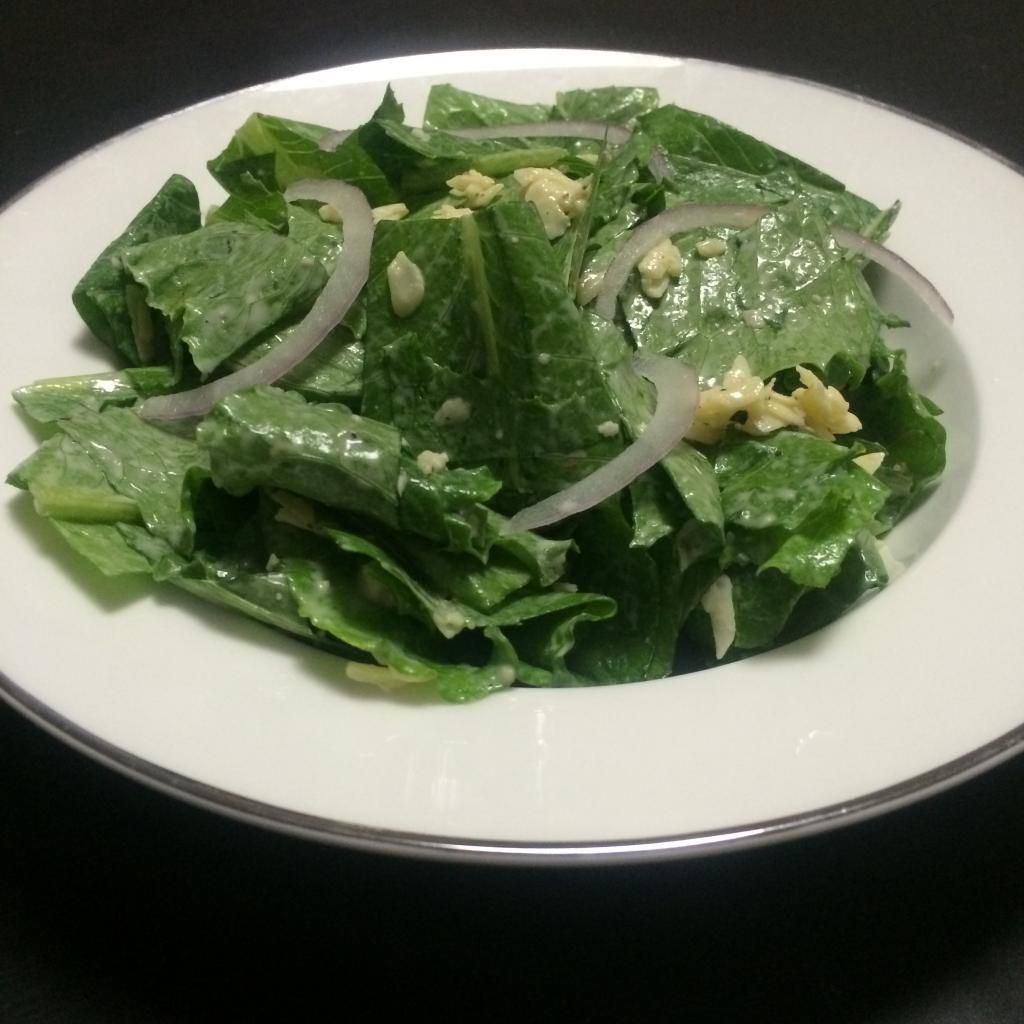
Caesar salad
I ate these bad boys with a delightful caesar salad.


Ingredients
400 g ground beef
1 egg
1/2 cup panko bread crumbs
1 tbsp Worcestershire Sauce
1/4 tsp salt
1/4 tsp pepper
1/4 tsp garlic powder

Toppings used:
sliced cheddar cheese red onion
tomato
ketchup
mustard
lettuce


Directions
Put everything into a large bowl and mix well with hands. Form into 8 small patties and place on a plate or tray lined with wax paper. Put the patties into the freezer for about 30 minutes to firm up. Heat a pan over medium low, place four burgers in the pan and make sure they are cooked through, turning once. They won’t take too long because they are thin and small. After they have been cooked add a slice of cheddar to each burger and place on a cookie sheet. Put them under the broiler in an oven for about 2 minutes or until the cheese is melted. Serve on top of mini buns or dinner rolls with all of your favourite toppings. 

Sunday, July 13, 2014

Salt and Vinegar Chips

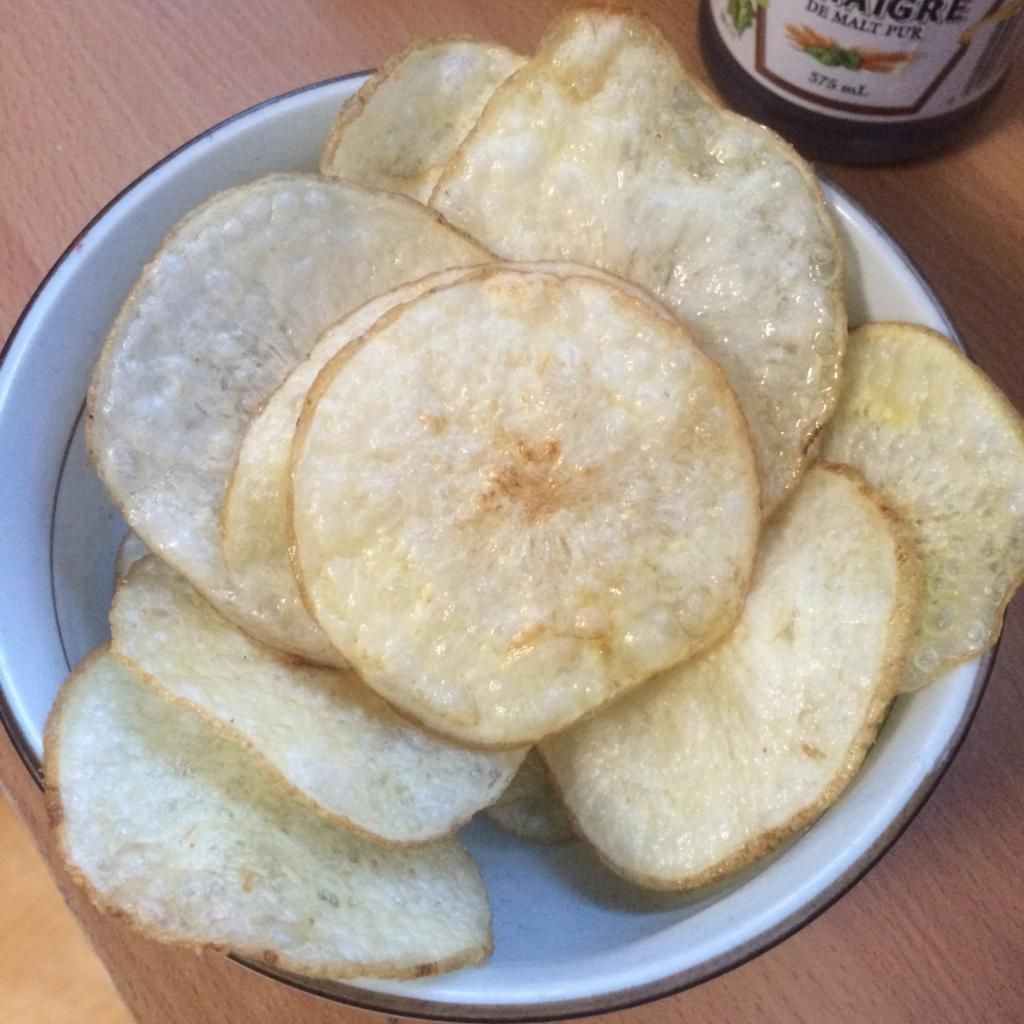
salt and vinegar chips homemade

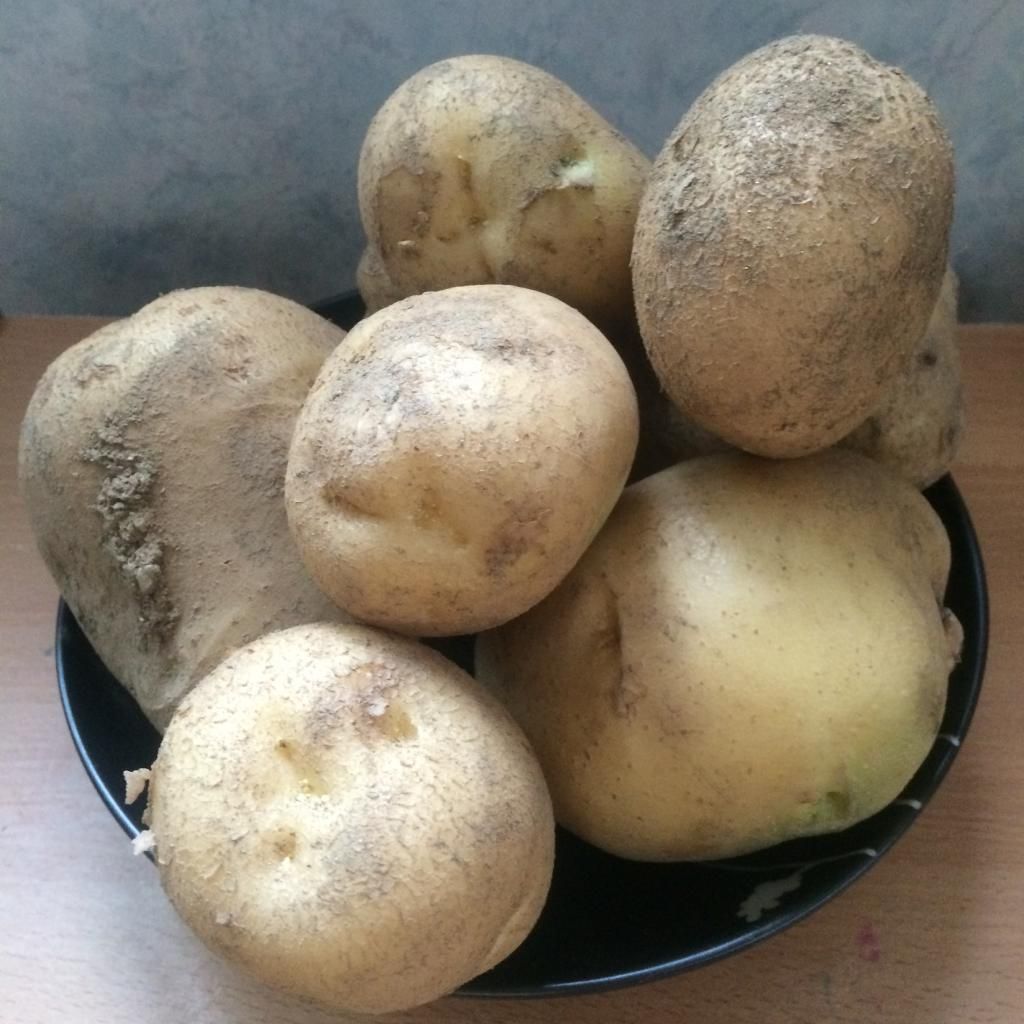
A week ago, our school took the kindergartners to a farm to pick potatoes. They had panted some back in March, and the time had come to got pick some up. It’s mostly just a photo op that involved two men from work digging up the potatoes and the students picking one up and posing for an individual shot. The kids seemed to enjoy themselves anyway and I got to take home some fresh from the garden potatoes. 

potatoes


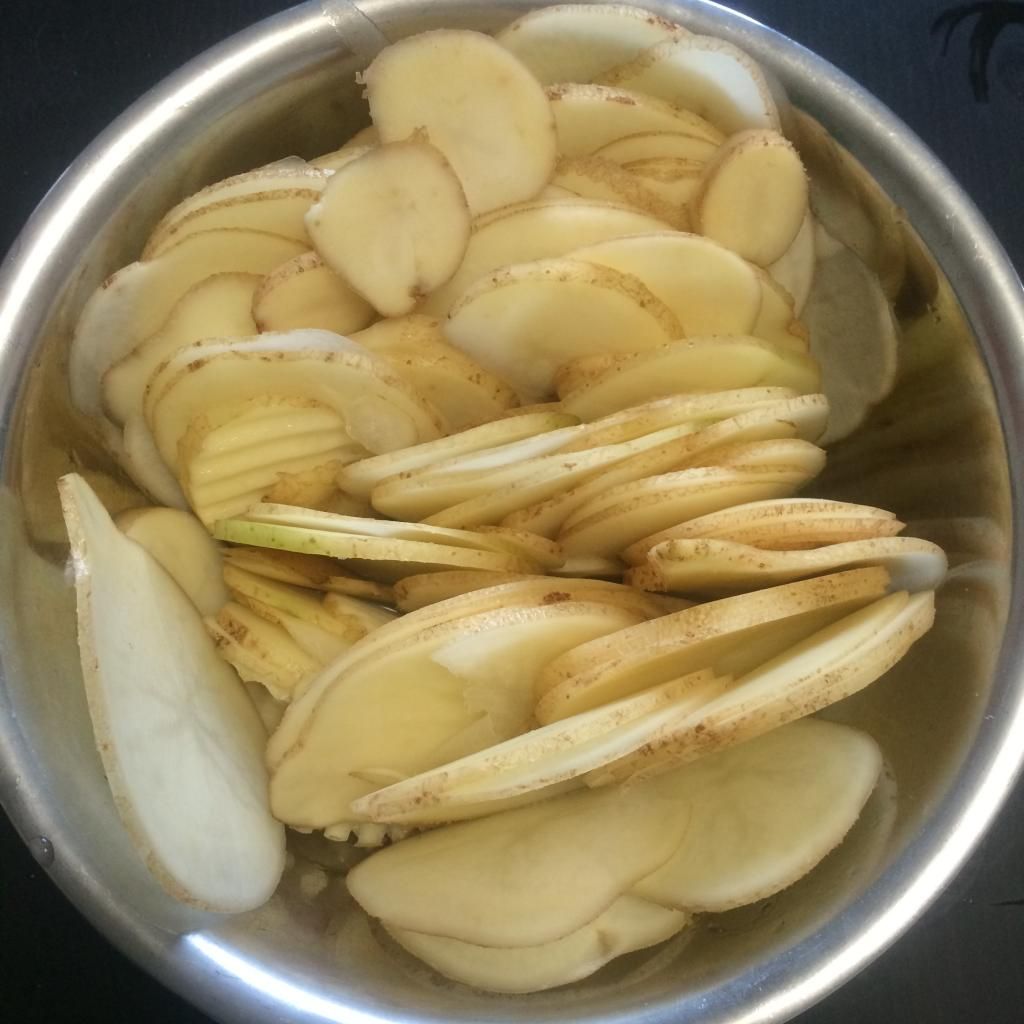
I’d had a craving for salt and vinegar favored chips, which are hard to come by and only available in foreigner stores here for a high price. So, I decided to make some using some of the potatoes I got from the farm. A few years back, I attempted to make vinegar infused french fries and they didn't turn out tasting very good. This time I thought I would try to make chips instead, hoping the thin cut of the chips would let them soak up more vinegar flavour. These chips turned out great when served right away and got better when left out for a day to dry up a bit more, when I had them as a snack. 

potatoes salt and vinegar chips

Salt and Vinegar Chips

Ingredients
6-8 medium potatoes
2 cups of white vinegar
pinch of salt
3-4 cups canola oil for frying

Directions
For this recipe you do not need to peel the potatoes, so make sure you wash them well and cut out any eyes. Next, slice the potatoes as thinly as possible. If you have a mandolin, use that. If not, use a sharp knife and be careful when cutting. Soak the potatoes slices in water for about 20 minutes in a bowl in the refrigerator. After that, put the potatoes into a large pot and pour the vinegar over top. Pour enough boiling water over top to cover the potatoes. Let the potatoes sit in the pot for about 45 minutes to an hour. Fill a large pan with the oil. (I use a wok to fry food, because it’s the biggest pan I've got.) Heat oil over medium to medium low heat on your stove top. Working in small batches, fry the potatoes until they are a light golden brown colour. This takes about 10 minutes. Remove the potatoes from the oil using a slotted spoon or long handled mesh strainer and toss with salt. To keep your potatoes hot while cooking the other batches, put finished chips on a metal sheet pan and throw into a low temperature oven.

The vinegar taste is actually quite subtle, but definitely noticeable. If you like even more of a vinegar taste, drizzle with malt vinegar.
Enjoy!

salt and vinegar chips

Sunday, June 29, 2014

Buffalo Chicken Pizza

buffalo chicken pizza franks red hot

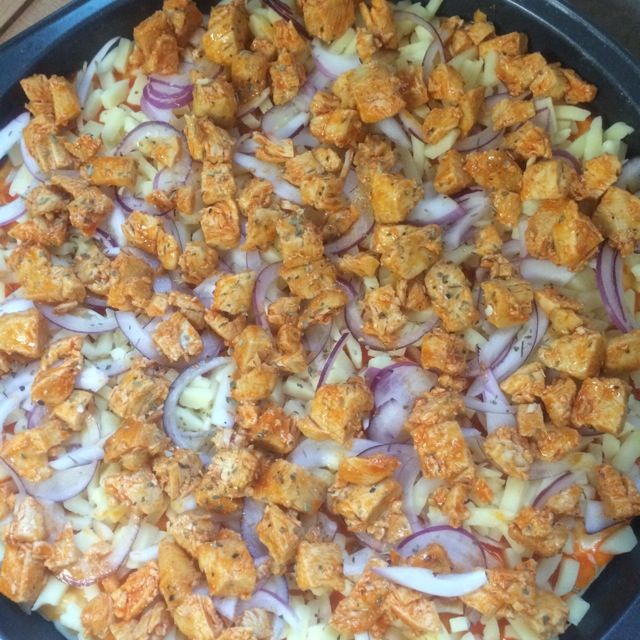
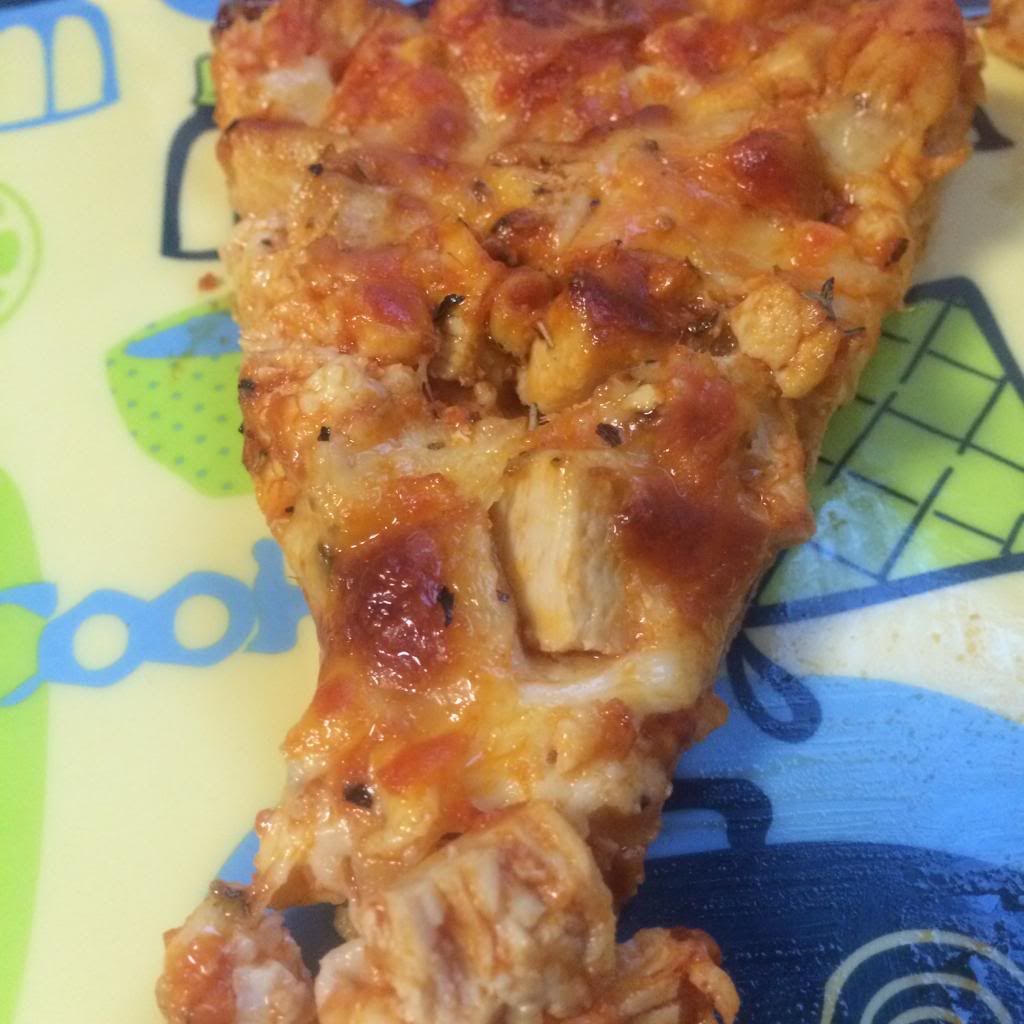
What do when you've bought a 3.78 liter jug of Franks Red Hot? Buffalo all the things!!! Besides making classic buffalo wings and chicken fingers, the Seoulmate and I decided to make a buffalo chicken pizza. 
After a long day yesterday, which included a baseball game, and dinner and drinks with friends, it was nice to relax today and cook a delightful meal at home. Surprisingly, the Simmering Seoulmate and I work extremely well together in the kitchen. We divide up the tasks and try to clean as we cook, in order to avoid a daunting mess at the end and to have available space to work in our tiny Korean kitchen. 
This pizza was super simple to make and dinner came together quite quickly. We enjoyed our slices with a nice side of broccoli, but I think it might have gone better with a nice crisp salad to balance out the spiciness of the pizza.
buffalo chicken pizza


Ingredients
2 large chicken breasts
3/4 cup Franks Red Hot sauce
2 tbsp butter
2 cups shredded pizza cheese
1/2 of a red onion finely chopped
Italian seasoning
1 ball of pizza dough

Directions
Preheat oven to 400 ̊ F (200 ̊ C). Cut chicken into 1 inch cubes and cook in a pan over medium high heat with a little olive oil and a dash of salt and pepper.  While the chicken is cooking, prep your pan and add the dough.  Next, create your buffalo sauce. Melt the butter and stir it into the hot sauce. Pour about a 1/4 of the buffalo sauce onto the pizza crust. Sprinkle the cheese over and add red onion. Add all but about 2 tbsp of the remaining buffalo sauce to the chicken, and fold so the chicken so it is nicely coated with sauce. Spoon the chicken over the pizza and drizzle what’s left of the buffalo sauce across the top of your pizza. Cook pizza for about 25 minutes and enjoy! This pizza is quite spicy so make sure you’ve got a nice glass of something to wash it down.
Makes 1 pizza.